Introduction
1.1. Overview of Machining Techniques
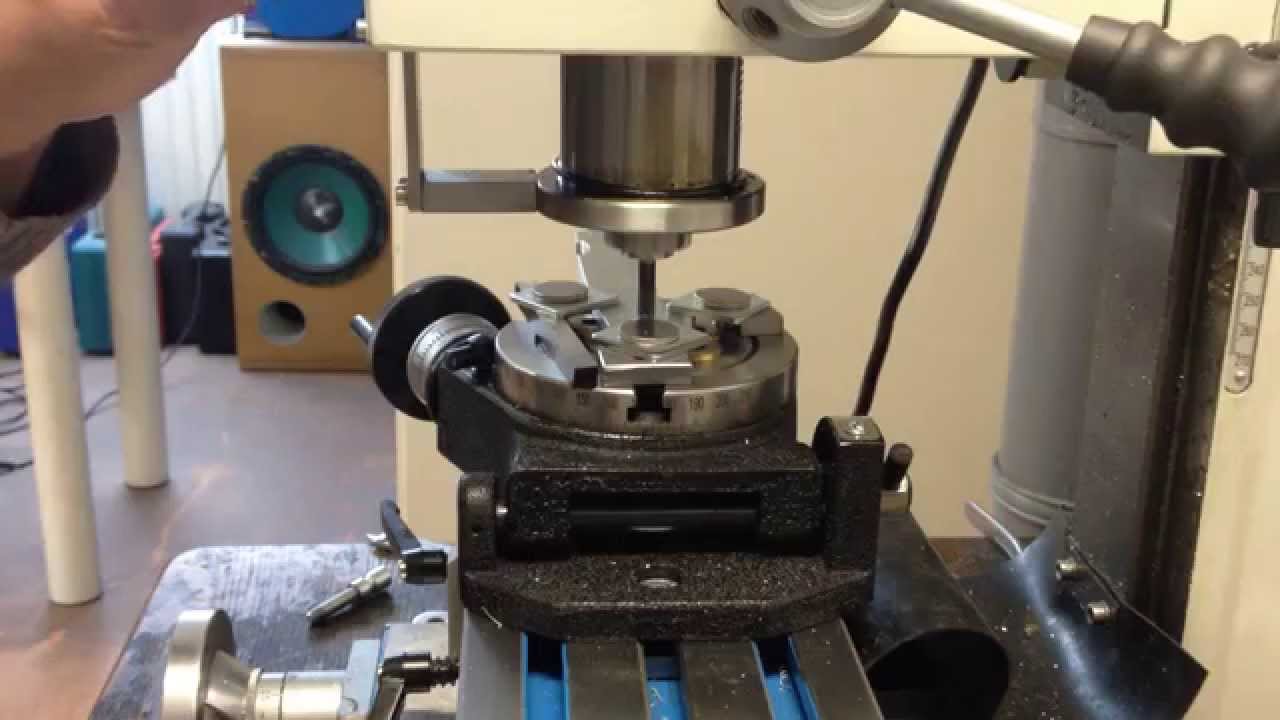
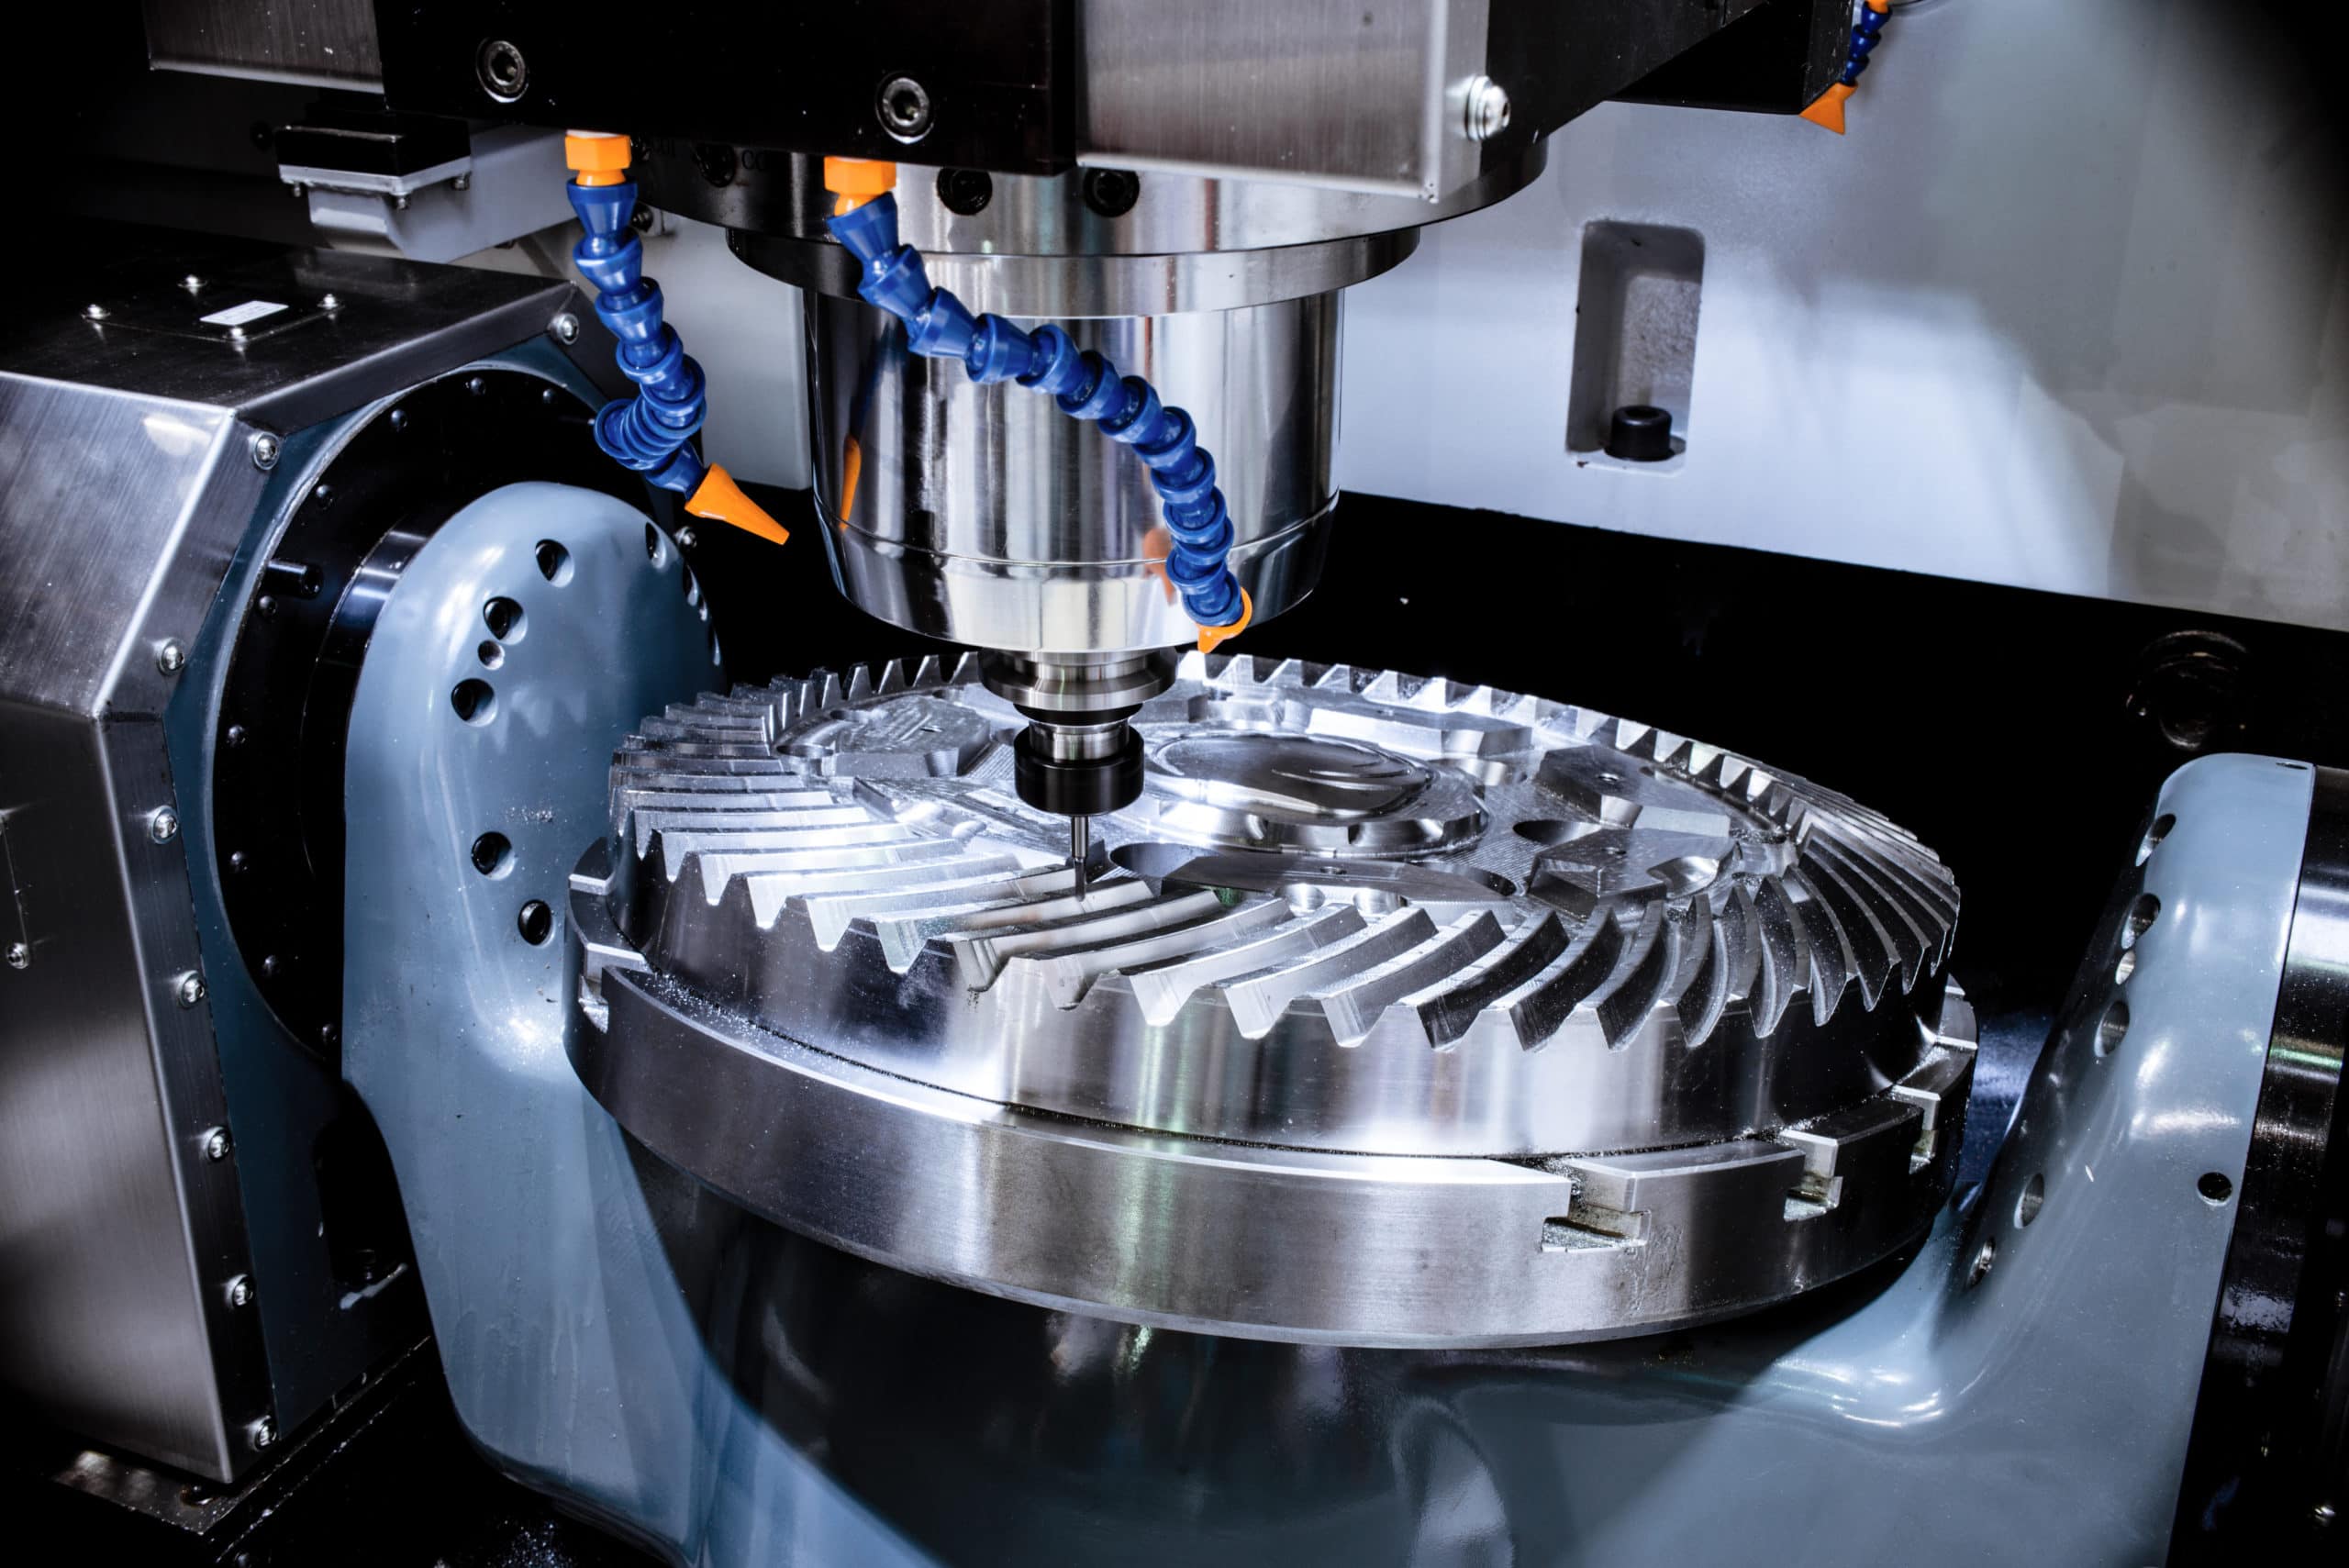
Machining is a crucial process in manufacturing that involves shaping and finishing raw materials into precise parts and components. This process is essential for creating high-quality products in various industries, from automotive and aerospace to medical and consumer goods. Some key machining techniques include:
● Milling
● Drilling
● Turning
● Grinding
Among these techniques, drilling is particularly important for creating holes in machined parts. Holes serve various purposes, such as allowing for the passage of fluids, providing clearance for fasteners, and enabling the assembly of multiple components.
1.2. Spotface vs. Counterbore Holes: A Primer
When it comes to machined holes, two common types are spotface and counterbore holes. While they may appear similar at first glance, there are distinct differences between the two.
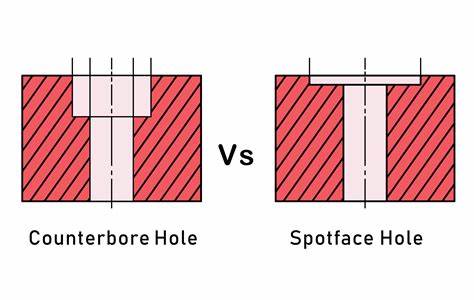
● Spotface holes are shallow, flat-bottomed recesses that provide a smooth, level surface for fasteners to sit against.
● Counterbore holes, on the other hand, are deeper recesses that allow fastener heads to sit flush with or below the surface of the workpiece.

These holes play crucial roles in ensuring proper alignment, secure fastening, and a clean, professional appearance in machined parts.
1.3. The Importance of Precision Holes in Machining Parts
Precision is paramount in machining, and this is especially true when it comes to creating holes. Poorly machined holes can lead to a host of problems, including:
● Misalignment of components
● Inadequate fastening
● Leaks and failures in fluid systems
● Reduced overall quality and performance of the final product
By creating precise spotface and counterbore holes, manufacturers can ensure that their machined parts meet the highest standards of quality and functionality.
1.4. Key Objectives of This Guide
In this comprehensive guide, we will dive deeper into the world of spotface and counterbore holes. Our main objectives are to:
1.Clearly define and differentiate between spotface and counterbore holes
2.Explore their specific applications and benefits in machining
3. Provide practical tips and techniques for creating precise spotface and counterbore holes
4.Highlight real-world examples and case studies showcasing the importance of these holes in various industries
By the end of this guide, you will have a solid understanding of spotface and counterbore holes and how to effectively incorporate them into your machining processes.
Understanding Spotface Holes
2.1. Definition and Characteristics of Spotface Holes
A spotface, also known as a spotfacing, is a shallow, flat-bottomed recess machined into a workpiece. It is typically created around an existing hole or at a specific location where a fastener, such as a bolt or screw, will be seated. The primary purpose of a spotface is to provide a smooth, even surface for the fastener to rest against.
Spotfaces are characterized by their shallow depth, usually just enough to create a flat surface. They have a circular shape and a diameter that matches the size of the fastener's head or mating component. The bottom of a spotface is perpendicular to the axis of the hole, ensuring proper alignment and contact with the fastener.
Spotfaces are used in situations where the original surface of the workpiece is uneven, rough, or not perpendicular to the hole's axis. By creating a spotface, machinists can ensure that the fastener sits flush against a flat surface, providing a stable and secure connection.

2.2. The Process of Creating a Spotface
To create a spotface, machinists follow these general steps:

1.Identify the location: Determine where the spotface needs to be created based on the fastener's location and the workpiece's design.
2.Drill the initial hole: If the spotface is being added to an existing hole, skip this step. Otherwise, drill a hole at the specified location, ensuring it is perpendicular to the surface.
3.Select the spotfacing tool: Choose a spotfacing tool with the appropriate diameter and depth capacity for the desired spotface size.
4.Set up the machine: Mount the spotfacing tool in the machine spindle and adjust the speed and feed rate according to the tool manufacturer's recommendations and the workpiece material.
5.Create the spotface: Slowly lower the spotfacing tool into the workpiece, maintaining perpendicularity to the surface. The tool will cut away material to create a flat, smooth bottom surface.
6.Check the spotface: Measure the diameter and depth of the spotface to ensure it meets the specified requirements. Visually inspect the surface for any irregularities or defects.
By following these steps, machinists can create precise and consistent spotfaces that enhance the quality and performance of the final assembly.
2.3. Applications and Advantages of Spotface Holes
Spotface holes offer several advantages and are used in various applications across industries. Some common applications include:
● Fastener seating: Spotfaces provide a flat, even surface for fasteners to sit against, ensuring proper alignment and a secure connection.
● Sealing surfaces: In fluid systems, spotfaces can create smooth surfaces for gaskets or O-rings to seal against, preventing leaks.
● Bearing surfaces: Spotfaces can provide a flat, perpendicular surface for bearings to rest against, reducing wear and ensuring smooth rotation.
● Electrical components: In electrical devices, spotfaces can create a flat surface for components like switches or connectors to mount against, ensuring proper contact and functionality.
Real-world examples of spotface holes in action include:
● Automotive engines: Spotfaces are used on cylinder heads to provide a flat surface for the head bolts to seat against, ensuring even clamping force and a secure seal.
● Aerospace components: In aircraft structures, spotfaces are used around fastener holes to provide a consistent, flat surface for the fastener head, reducing stress concentrations and improving the overall integrity of the assembly.
By incorporating spotface holes into their designs, engineers and machinists can:
● Enhance fastener seating and alignment
● Improve sealing performance
● Reduce wear on mating components
● Ensure proper functionality of electrical components
● Increase the overall quality and reliability of the final assembly
Spotface holes may seem like a small detail, but they play a crucial role in ensuring the performance and longevity of machined parts and assemblies.
Exploring Counterbore Holes
3.1. What Are Counterbore Holes?
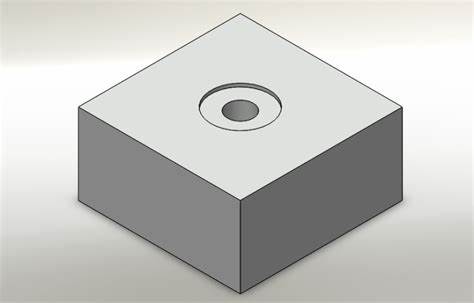
A counterbore hole is a type of machined hole that consists of a larger diameter hole drilled concentrically over a smaller hole. The larger hole is called the counterbore, and it extends only partway through the workpiece. The smaller hole, known as the pilot hole, typically goes all the way through.

The key attributes of a counterbore hole include:
● A stepped profile with two distinct diameters
● A flat bottom surface perpendicular to the hole axis
● A depth that allows the counterbore to accommodate the head of a fastener
Compared to spotface holes, counterbore holes have a deeper recess and a more pronounced step between the two diameters. While spotfaces are primarily used to create a flat seating surface, counterbores are designed to hide the fastener head within the workpiece.
3.2. The Utility and Applications of Counterbore Holes
Counterbore holes serve several important functions in machining and are used in a wide range of applications. Some of the primary uses of counterbore holes include:
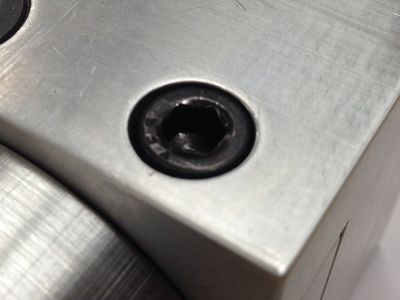
1.Accommodating fastener heads: Counterbores allow the head of a bolt, screw, or other fastener to sit flush with or below the surface of the workpiece. This provides a cleaner appearance and prevents the fastener head from interfering with mating parts.
2.Providing clearance: In some cases, counterbores are used to provide clearance for tools or other components that need to pass through the hole.
3.Enhancing assembly: Counterbores can help align and locate mating parts during assembly, making the process easier and more accurate.

Examples of counterbore holes in industrial applications include:
● Automotive: In engine blocks, counterbores are used to hide the heads of bolts that secure the cylinder head, creating a smooth surface for the gasket to seal against.
● Aerospace: Counterbore holes are common in aircraft structures, where they are used to create flush surfaces for rivets and other fasteners, reducing drag and improving aerodynamics.
● Electronics: In printed circuit boards (PCBs), counterbores are used to create recesses for component leads, allowing them to sit flush with the board surface.
3.3. Counterbore Holes in Engineering Drawings: Decoding the Symbols
In engineering drawings, counterbore holes are represented using specific symbols and notations. Understanding these symbols is crucial for machinists and engineers to accurately interpret and manufacture parts with counterbore holes.
The basic symbol for a counterbore hole is a circle with a smaller concentric circle inside it. The outer circle represents the counterbore diameter, while the inner circle represents the pilot hole diameter. Additional dimensions, such as the counterbore depth and the pilot hole depth (if it's a blind hole), are typically called out using leader lines and dimension values.
Here's an example of how a counterbore hole might be represented in an engineering drawing:
⌴ 10.0 x 5.0
⌴ 6.0 THRU
In this example: - The larger circle with the "⌴" symbol represents the counterbore, with a diameter of 10.0 mm and a depth of 5.0 mm. - The smaller circle inside represents the pilot hole, with a diameter of 6.0 mm that goes through the entire workpiece (THRU).
By familiarizing themselves with these symbols and notations, machinists and engineers can effectively communicate design intent and ensure that counterbore holes are manufactured to the correct specifications.
Comparative Analysis: Spotface vs. Counterbore Holes
Key Differences and Similarities
Spotface and counterbore holes share some similarities, but they also have distinct differences. Both are cylindrical recesses machined into a workpiece, typically around an existing hole. However, the depth, shape, and callout symbols set them apart.
Depth is a key differentiator. Counterbores are deeper, designed to fully accommodate the head of a fastener below the surface. In contrast, spotfaces are shallower, providing just enough depth to create a flat, smooth surface for the fastener head to sit flush against.
Regarding shape, spotfaces have a simple cylindrical form with a flat bottom. Counterbores also have a cylindrical shape but feature a stepped profile, with the larger diameter recess transitioning to the smaller diameter hole.
Callout symbols on engineering drawings distinguish spotfaces from counterbores. Spotfaces use the counterbore symbol (⌴) with "SF" inside, while counterbores use the ⌴ symbol alone, along with diameter and depth dimensions.
Functional Differences: Accommodating Fastener Heads
The primary functional difference between spotfaces and counterbores lies in how they accommodate fastener heads. Counterbores are designed to fully recess the head of a fastener, such as a bolt or screw, below the surface of the workpiece. This creates a flush or recessed appearance and prevents the fastener head from protruding.
On the other hand, spotfaces provide a flat, smooth surface for the fastener head to rest against, ensuring proper seating and alignment. They are particularly useful when the workpiece surface is uneven or when the fastener needs to be installed at an angle other than 90 degrees.
Spotfaces play a crucial role in ensuring that fasteners sit correctly and apply the appropriate clamping pressure without damaging the workpiece surface.
Depth and Design Application: Key Distinctions
The depth of spotfaces and counterbores directly relates to their design application. Counterbores are deeper, typically matching the height of the fastener head. This depth allows the fastener head to sit entirely within the recess, creating a flush or recessed appearance. Counterbores are commonly used when a neat, unobtrusive fastener installation is desired for aesthetic or functional purposes.
In contrast, spotfaces have a shallower depth, usually just enough to create a flat, even surface for the fastener head. The depth of a spotface is typically less than 5 mm, as its primary purpose is to provide a smooth seating surface rather than fully concealing the fastener head.
The decision between using a spotface or counterbore depends on the specific design requirements, such as the need for a flush appearance, assembly constraints, or the presence of an uneven mating surface.
Feature | Spotface | Counterbore |
Depth | Shallow, typically less than 5 mm, just enough to create a flat, smooth surface | Deeper, usually matching the height of the fastener head, designed to fully accommodate the fastener head |
Shape | Simple cylindrical form with a flat bottom | Cylindrical shape with a stepped profile, larger diameter recess transitioning to a smaller diameter hole |
Callout Symbol | Uses the counterbore symbol (⌴) with "SF" inside | Uses the counterbore symbol (⌴) alone, along with diameter and depth dimensions |
Function | Provides a flat, smooth surface for the fastener head to sit against, ensuring proper seating and alignment | Fully recesses the head of a fastener, such as a bolt or screw, below the surface of the workpiece |
Application | Used when the workpiece surface is uneven or when the fastener needs to be installed at an angle other than 90 degrees | Used when a flush or recessed appearance is desired for aesthetic or functional purposes |
Surface Finish | Often has a finer surface finish, with tighter tolerances on surface finish | Surface finish of the side walls is less critical, but the bottom surface still requires a smooth finish for proper seating |
Machining | Requires proper tool selection, cutting parameters, and machining techniques to achieve the desired surface quality | Typically requires deeper cuts and may necessitate specific tooling |
Surface Finish Considerations in Counterbores and Spotfaces
Surface finish is an important consideration when comparing counterbores and spotfaces. Both types of holes require a smooth, even surface to ensure proper seating and alignment of fasteners. However, spotfaces often have a finer surface finish compared to counterbores.
The primary purpose of a spotface is to provide a flat, smooth surface for the fastener head to rest against, ensuring proper clamping pressure and preventing surface damage. As a result, the surface finish of a spotface is critical and typically held to tighter tolerances.
In counterbores, the surface finish of the side walls is less critical, as they primarily serve to accommodate the fastener head. The bottom surface of a counterbore, where the fastener head rests, still requires a smooth finish for proper seating.
Machining processes and tools used for creating spotfaces and counterbores can impact the achieved surface finish. Proper tool selection, cutting parameters, and machining techniques are essential to obtain the desired surface quality.
Decision-Making Criteria: When to Use Which
Choosing between a spotface and a counterbore depends on several factors and project requirements. Consider the following guidelines when making your decision:
1.Fastener head concealment: If you need the fastener head to be flush or recessed for aesthetic or functional reasons, use a counterbore. If concealment is not necessary, a spotface may suffice.
2.Surface condition: When dealing with uneven or rough surfaces, spotfaces provide a flat, smooth seating surface for fasteners, ensuring proper alignment and clamping pressure.
3.Assembly constraints: Consider the space available for the fastener installation. Counterbores require more depth and may not be suitable for thin workpieces or tight spaces.
4.Fastener type: The fastener head geometry and size influence the choice between a spotface and counterbore. Ensure the recess accommodates the specific fastener head shape and dimensions.
5.Manufacturing capabilities: Assess your machining capabilities and available tools. Counterbores typically require deeper cuts and may necessitate specific tooling.
By evaluating these factors and aligning them with your project requirements, you can make an informed decision between using a spotface or counterbore hole.
Machining Techniques and Tools for Spotface and Counterbore Holes

Machining Process Overview: From Pilot Holes to Finished Features
Creating spotface and counterbore holes involves a multi-step machining process. The first step is to create a pilot hole, which serves as the center point for the spotface or counterbore. Pilot holes are typically drilled, bored, or milled to the required diameter and depth.
Once the pilot hole is created, the next step is to machine the spotface or counterbore. This is done using specialized tools that match the desired diameter and depth of the feature. It's crucial to ensure that the tool is perfectly aligned with the pilot hole to maintain concentricity.
Finally, the tool is plunged into the workpiece to create the spotface or counterbore. The tool is then retracted, leaving a smooth, flat surface or a stepped recess, depending on the feature being machined.
Tools and Equipment for Counterbore and Spotface Machining
Specialized tools are available for both counterbore and spotface machining operations. These tools come in various geometries and sizes to accommodate different hole diameters and depths.
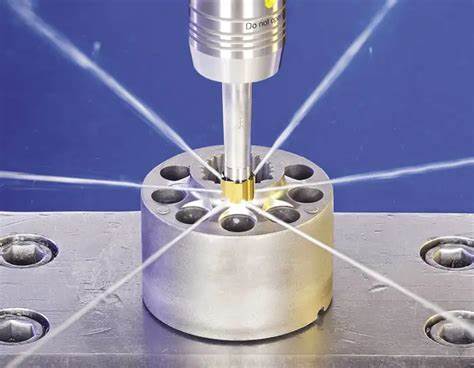
Counterbore tools often resemble drill bits or end mills, with a pilot tip that fits into the pre-drilled hole. The cutting edges are designed to create a flat-bottomed hole with straight walls. Some counterbore tools have adjustable depths to accommodate different fastener head heights.
Spotface tools, on the other hand, have a shorter cutting length since they only need to create a shallow recess. They may have a built-in pilot or guide to ensure concentricity with the pilot hole. Spotface tools often have a flat or slightly rounded cutting face to produce a smooth seating surface.
In addition to specialized tools, standard end mills and reamers can also be used for counterbore and spotface machining. The choice of tool depends on the specific requirements of the job, such as the hole size, depth, and required surface finish.
Challenges and Solutions in Machining Counterbore and Spotface Holes
CNC machining counterbore and spotface holes presents some unique challenges. One of the main issues is maintaining concentricity between the pilot hole and the machined feature. Any misalignment can result in an off-center or angled hole, which can cause assembly issues.
To overcome this challenge, it's important to use tools with built-in pilots or guides that fit snugly into the pilot hole. This helps to keep the tool centered and aligned during the machining process. Proper fixturing and workholding techniques are also crucial to ensure that the workpiece remains stable and aligned throughout the operation.
Another challenge is achieving the desired surface finish, particularly in materials prone to tearing or burring. Using sharp, high-quality tools with the appropriate coating can help to minimize these issues. Proper cutting speeds and feeds, along with the use of coolant, can also contribute to a better surface finish.
Tips for Selecting the Right Tools for Each Job
Selecting the right tools for counterbore and spotface machining is essential for achieving the desired results. Here are some tips to keep in mind:
1.Consider the hole size and depth: Choose tools that match the required diameter and depth of the feature. For counterbores, ensure that the tool can accommodate the height of the fastener head.
2.Look for tools with built-in pilots: Tools with pilots or guides can help to maintain concentricity and alignment with the pilot hole.
3.Check the tool material and coating: Select tools made from high-quality materials, such as carbide or high-speed steel, and with appropriate coatings for the material being machined.
4.Consider the surface finish requirements: Some tools are designed to produce a finer surface finish than others. Choose tools with the appropriate geometry and edge preparation for your specific needs.
5.Evaluate the tool's versatility: Look for tools that can handle a range of hole sizes and depths to maximize their usefulness in your shop.
Design Considerations and Best Practices
When designing parts that require counterbore or spotface holes, there are several best practices to keep in mind:
1.Clearly specify the feature type: Use the appropriate symbols and labeling to indicate whether a hole is a counterbore or spotface. This helps to avoid confusion during the machining process.
2.Provide detailed dimensions: Include the diameter, depth, and any other relevant dimensions for the counterbore or spotface. For counterbores, specify the fastener head height to ensure proper fit.
3.Consider the material: Choose counterbore and spotface depths and diameters that are appropriate for the material being machined. Some materials may require shallower or deeper features to avoid issues like tearing or burring.
4.Think about assembly requirements: When specifying counterbore or spotface holes, consider how the parts will be assembled and whether there are any space constraints or specific fastener requirements.
5.Communicate surface finish needs: If a particular surface finish is required for the counterbore or spotface, make sure to specify this on the drawing or in the design documentation.
By following these design considerations and best practices, engineers and designers can help to ensure that counterbore and spotface holes are machined correctly and efficiently.
Applications and Case Studies
Industry-Specific Applications: Aerospace, Automotive, and More
Spotface and counterbore holes find applications across a wide range of industries, each with its unique requirements and challenges. In the aerospace industry, for example, these machining features are crucial for creating secure and flush connections between aircraft components, such as landing gear and engine parts.
The automotive industry also heavily relies on spotface and counterbore holes for assembling engines, suspension systems, and other critical components. These features ensure proper alignment, secure fastening, and a clean, professional appearance in the final product.
Other industries, such as general manufacturing, machining, and woodworking, also utilize spotface and counterbore holes for various applications. From furniture-making to machine tool assembly, these features play a vital role in creating strong, precise, and visually appealing connections.
Case Studies: Spotface and Counterbore in Action
To better understand the importance of spotface and counterbore holes, let's look at some real-world case studies.
Case Study 1: Aerospace Component Assembly
An aerospace manufacturer was experiencing issues with the assembly of a critical component due to misaligned fasteners. By incorporating spotface holes in the design, they were able to create a flat, even seating surface for the fasteners, ensuring proper alignment and a secure connection. This simple change eliminated the assembly issues and improved the overall quality of the final product.
Case Study 2: Automotive Engine Production
An automotive manufacturer was looking to streamline their engine production process and reduce the time spent on manual deburring and cleaning of fastener holes. By implementing counterbore holes in their design, they were able to create a clean, flush appearance for the fasteners while also reducing the need for additional post-processing steps. This change resulted in significant time and cost savings in their production process.
Case Study 3: Furniture Manufacturing
A furniture manufacturer was facing challenges with the aesthetic appearance of their products due to exposed fastener heads. By incorporating counterbore holes into their designs, they were able to create a sleek, flush appearance for the fasteners, enhancing the overall look and feel of their furniture. This improvement helped to differentiate their products in a competitive market and increase customer satisfaction.
These case studies demonstrate the tangible benefits that spotface and counterbore holes can bring to various industries and applications. By understanding the specific requirements and challenges of each project, engineers and designers can effectively incorporate these features to improve product quality, streamline production processes, and enhance the overall user experience.
Tips for Choosing the Right Machining Process for Your Project
When deciding between spotface and counterbore holes for your project, consider the following tips:
1.Evaluate the specific requirements of your application. Consider factors such as the required strength of the connection, the visual appearance of the final product, and any space or assembly constraints.
2.Consider the materials being used. Different materials may require different machining processes or feature dimensions to achieve the desired results. For example, softer materials may require shallower spotface or counterbore depths to avoid deformation or tearing.
3.Take into account the production volume and timeline. The choice between spotface and counterbore holes can impact the overall production time and cost. For high-volume production runs, it may be more efficient to use counterbore holes to reduce the need for additional post-processing steps.
4.Consult with experienced machinists or engineers. When in doubt, seek the advice of professionals who have experience with spotface and counterbore holes in similar applications. They can provide valuable insights and recommendations based on their expertise.
5.Conduct thorough testing and prototyping. Before finalizing your design, create prototypes and conduct thorough testing to ensure that the chosen machining process meets all of the required specifications and performs as expected in the final application.
Conclusion
In this article, we've explored the key differences between spotface and counterbore holes, two essential machining features in precision manufacturing. By understanding their unique characteristics, machining processes, and applications, professionals can make informed decisions when selecting the appropriate feature for their projects. Spotface and counterbore holes play a critical role in ensuring the accuracy, reliability, and efficiency of assembled components across various industries. As we continue to drive innovation in manufacturing, embracing the power of these small but mighty features will be crucial for success in our ever-evolving field.
FAQs
Q: What are the primary differences between spotface and counterbore holes?
A: Spotface holes are shallow, providing a flat surface for fasteners to sit flush. Counterbore holes are deeper, allowing fastener heads to be recessed below the surface. Spotfaces have a simple cylindrical shape, while counterbores have a stepped profile.
Q: How do I decide whether to use a spotface or counterbore hole for my project?
A: Consider the specific requirements of your application, such as the strength of the connection and visual appearance. Evaluate the materials being used, as some may require different feature dimensions. Consult with experienced machinists or engineers and conduct thorough testing and prototyping.
Q: Can spotface and counterbore holes be created using the same tools?
A: While some tools, like end mills and reamers, can be used for both, specialized tools are available. Counterbore tools often have a pilot tip and adjustable depths, while spotface tools have shorter cutting lengths. The choice of tool depends on the specific requirements of the job.
Q: What are some common mistakes to avoid when designing for either type of hole?
A: Clearly specify the feature type using appropriate symbols and labeling to avoid confusion during machining. Provide detailed dimensions, including diameter, depth, and fastener head height for counterbores. Consider the material and assembly requirements when specifying depths and diameters.
Q: How do counterbore and spotface holes contribute to the manufacturing process?
A: Counterbore and spotface holes ensure proper alignment, secure fastening, and a clean, professional appearance in the final product. They can streamline production by reducing the need for additional post-processing steps and minimizing the risk of assembly errors. These features contribute to the overall efficiency and cost-effectiveness of the manufacturing process.
Q: Can a counterbore hole be converted into a spotface hole or vice versa?
A: Converting a counterbore hole to a spotface hole is possible by machining the hole to a shallower depth. However, converting a spotface to a counterbore may be more challenging, as it requires deepening the hole. It's best to design and machine the correct feature from the start.
Q: What are the common mistakes to avoid in counterbore and spotface machining?
A: Ensure proper alignment and concentricity between the pilot hole and the machined feature to avoid off-center or angled holes. Use sharp, high-quality tools with appropriate coatings and cutting parameters to achieve the desired surface finish. Employ proper fixturing and workholding techniques to maintain workpiece stability throughout the machining process.
Q: How do the requirements for surface finish differ between counterbore and spotface holes?
A: Spotface holes often require a finer surface finish, as their primary purpose is to provide a smooth seating surface. Counterbore holes may have a slightly rougher finish on the sidewalls, but the bottom surface still needs to be smooth. The specific surface finish requirements should be communicated in the design documentation.


